
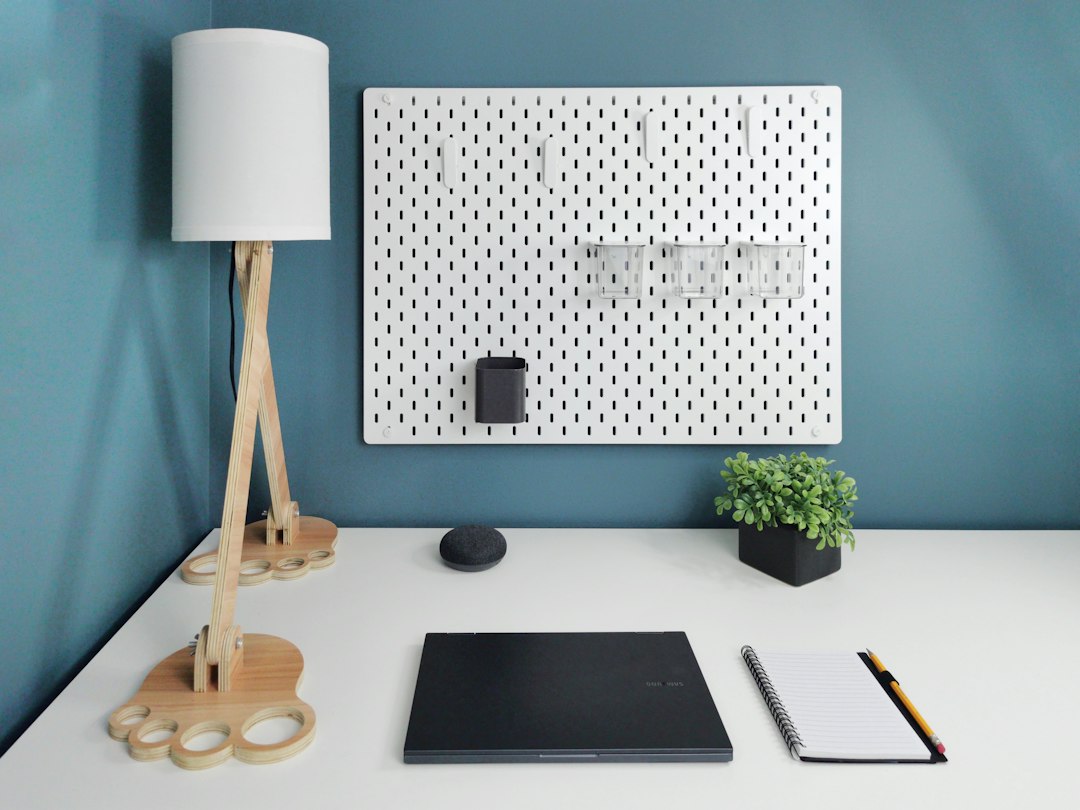
A flickering or dead study lamp can be a real headache when you’re trying to focus. Most common desk lamp problems, from a light that won’t turn on to an annoying hum, are often simple fixes that you can tackle yourself with a few basic tools and a bit of patience. Before you toss that lamp, let’s look at some practical troubleshooting steps and easy repairs.
Powering Up: When Your Lamp Won’t Turn On At All
It’s frustrating when you flip the switch and… nothing. Don’t panic; it’s rarely a sign of a completely broken lamp Uikobo right off the bat. Most often, the issue lies in the power delivery or the bulb itself.
Checking the Power Source
This might sound obvious, but it’s the first place to look.
Wall Outlet Issues
Is the outlet working? Plug something else into it, like a phone charger or a different small appliance, to confirm. If that item also doesn’t work, the problem isn’t your lamp. Check your home’s circuit breaker box; a tripped breaker can cut power to an entire outlet or group of outlets. Flip the tripped breaker off, then firmly back on.
Cord and Plug Inspection
Take a good look at the lamp’s power cord. Are there any visible cuts, kinks, or frayed wires, especially near the plug or where it enters the lamp base? A damaged cord can prevent power from reaching the bulb. Also, inspect the plug itself. Are the prongs bent or loose? A loose prong might not make proper contact with the outlet. If you find significant damage, replacing the cord is often the safest and most practical solution. This can be a DIY job for those comfortable with basic electrical work, but if you’re unsure, a professional can do it.
Bulb and Socket Troubles
Even if the power is flowing, the light won’t shine if the bulb or its connection is faulty.
Testing the Bulb
The easiest test is to simply try a new bulb. Make sure the replacement bulb is the correct type and wattage for your lamp (check the lamp’s label or manual). If the new bulb works, congratulations, your old bulb was just burnt out. If it doesn’t, the problem lies elsewhere. For LED lamps with integrated LEDs, this isn’t an option, and the problem is likely more internal.
Inspecting the Bulb Socket
With the lamp unplugged, carefully examine the inside of the bulb socket. Are the metal contact tabs (the small brass pieces) bent inwards or corroded? Over time, these can get pushed down or accumulate grime, preventing proper contact with the bulb’s base. Gently bend them outwards a bit using a small, flat-head screwdriver or needle-nose pliers. Be very gentle, as they can break. If there’s corrosion, you can try cleaning it with a fine-grit sandpaper or a contact cleaner spray (ensure the lamp is unplugged and completely dry before plugging it back in).
Flickering and Dimming: Intermittent Light Problems
A flickering or dimming light is incredibly distracting and can signal a few different issues, from loose connections to failing components.
Loose Connections
This is often the primary culprit for intermittent light.
Tightening the Bulb
Sometimes the simplest fix is the correct one. Turn the lamp off and carefully screw the bulb in tighter. A slightly loose bulb might not make consistent contact with the socket, leading to flickering or dimming. Don’t overtighten it, though, as you could damage the socket or the bulb.
Wiring Inside the Lamp
If the bulb is tight and the problem persists, the issue might be a loose wire inside the lamp base or along its arm. Always unplug the lamp before opening it up. For most desk lamps, you’ll need to unscrew the base or a cover to access the internal wiring. Look for any wires that appear loose, frayed, or disconnected from terminals. If you find a loose wire, you might be able to reattach it if it’s a simple screw terminal. If soldering is required and you’re not comfortable, it’s best to seek professional help or consider a replacement.
Switch Malfunctions
The switch is a mechanical component and can wear out or become faulty over time.
Testing the Switch
If your lamp has an in-line switch on the cord or a rotary switch on the base, it’s possible it’s failing. A simple test is to gently wiggle the switch while the lamp is on (if it’s flickering). If the flickering changes or stops, the switch is likely the problem. For cord switches, you can bypass it temporarily (if you’re comfortable with basic wiring) to see if the lamp works directly, or simply replace the switch. Replacement in-line switches are readily available and relatively easy to install. For base-mounted switches, replacement might be more involved and could require disassembling the lamp.
Dimmer Switch Issues
Dimmers add another layer of complexity. If you have a touch-sensitive or rotary dimmer that’s acting up (e.g., inconsistent brightness, flickering at certain levels), it could be failing. Sometimes, a “reset” by unplugging the lamp for a few minutes can help. If not, the dimmer module itself might need replacing. These are more complex than simple on/off switches, and it might be worth consulting the lamp’s manual or seeking professional advice. Ensure that your bulb is compatible with dimmer switches, especially if you’ve recently changed it.
Buzzing and Humming: Unwanted Noises
A noisy lamp can be incredibly distracting in a quiet study environment. This usually points to electrical components struggling or vibrating.
Transformer or Ballast Noise
Many desk lamps, especially those with low-voltage halogen bulbs, fluorescent bulbs, or some integrated LEDs, use a transformer or ballast to regulate power.
Identifying the Source
Listen carefully to pinpoint where the hum is coming from. If it’s a constant buzz or hum, it’s very likely coming from a transformer (for halogen/low-voltage) or a ballast (for fluorescent/some LEDs) located within the lamp’s base or head. Over time, these components can start to degrade or vibrate excessively, producing noise.
What to Do About It
Unfortunately, a buzzing transformer or ballast often means the component is failing and needs to be replaced. This is a more involved repair, often requiring opening the lamp, desoldering the old component, and soldering in a new one. Identifying the correct replacement part can also be tricky. For many common desk lamps, especially older ones, the cost and effort of replacing these might outweigh the value of the lamp, making a new lamp a more practical choice. If the lamp is high-quality or sentimental, a professional repair might be worthwhile.
Loose Components and Vibrations
Sometimes the noise isn’t electrical, but mechanical.
Tightening Loose Parts
Vibrations can come from any loose part within the lamp. Gently tap around the lamp’s head, arm, and base while it’s on (and buzzing, if safe to do so) to see if the noise changes or stops. Components like reflectors, protective covers, or even internal wiring that isn’t properly secured can vibrate against other parts, creating a buzzing sound. Turn off and unplug the lamp, then open up any accessible compartments and look for anything that appears loose. Tighten screws, re-seat components, or use a small piece of electrical tape or a zip tie to secure vibrating wires away from other parts.
Physical Damage and Adjustments: Beyond Electrical Issues
Not all lamp problems are electrical; sometimes the structure or function of the lamp itself is the issue.
Stiff or Loose Joints
Desk lamps often have adjustable arms and heads. When these get too stiff or too loose, it hinders usability.
Lubricating Stiff Joints
Over time, the friction points in the lamp’s arm or head can become stiff, making it hard to adjust. A small amount of lubricant can work wonders. Use a silicone-based spray lubricant or even a dab of petroleum jelly on the pivot points. Work the joint back and forth after applying to help the lubricant penetrate. Avoid using oil-based lubricants on plastic parts, as they can degrade some plastics. Always apply sparingly and wipe away any excess to prevent it from attracting dust.
Tightening Loose Joints
Conversely, joints can become too loose, causing the lamp head to flop or drift out of position. Many adjustable lamps have small screws or nuts at the pivot points that can be tightened. You’ll typically need a small Phillips head or Allen wrench. Don’t overtighten, as this can strip the screw or make the joint too stiff. Adjust incrementally until the desired tension is achieved. If a joint relies on a spring mechanism that has lost its tension, replacement might be the only option, which can be difficult to source.
Damaged Lamp Shades or Reflectors
These components are crucial for directing and diffusing light.
Repairing Dents or Bends
Metal lamp shades or reflectors can sometimes get dented or bent, which affects light distribution. For minor dents, you might be able to gently push them out from the inside with your fingers or a soft blunt object. For more significant bends, careful use of pliers (with cloth protecting the surface) might help, but be cautious not to crease the metal further. If the damage is severe, replacing the shade or reflector might be the best option, though finding an exact match can be challenging for older lamps.
Cleaning Reflective Surfaces
Dust and grime can accumulate on the inner reflective surfaces of a lamp shade or reflector, reducing light output. With the lamp unplugged and cool, gently wipe these surfaces with a soft, dry microfiber cloth. For stubborn grime, a very slightly damp cloth with plain water (avoiding harsh chemicals) can be used, ensuring it’s completely dry before reassembling or plugging in the lamp. Clean reflective surfaces can significantly improve the perceived brightness of your lamp.
Preventative Maintenance and Safety Tips
A little proactive care can save you a lot of hassle and keep your lamp running safely and efficiently for years.
Regular Cleaning
Dust is the enemy of electronics and light output.
Wiping Down Surfaces
Make it a habit to regularly wipe down your lamp’s exterior with a dry or slightly damp cloth. Pay attention to the bulb and the inside of the shade. Dust build-up on a bulb can trap heat, potentially shortening its lifespan, and can reduce light output. For touch-sensitive lamps, a dusty surface can sometimes interfere with the touch function. Always ensure the lamp is unplugged when cleaning, especially the bulb or internal components.
Cleaning Electrical Contacts
Every few months, with the lamp unplugged, you can gently clean the metal contacts inside the bulb socket with a cotton swab dipped in rubbing alcohol (allow to dry completely before plugging in). This helps remove any oxidation or grime that could impede electrical flow, preventing future flickering or non-starts.
Checking for Wear and Tear
Regular inspections can catch problems before they become major issues.
Inspecting Cords and Plugs
Periodically check the power cord for any signs of wear, fraying, or cracking, especially where it bends or enters the lamp base/plug. Look for discoloration, which could indicate overheating. If you spot any damage, replace the cord immediately or have it professionally repaired. Never use a lamp with a damaged cord. Also, ensure the plug fits snugly into the outlet and isn’t loose or wobbly.
Testing Switches and Dimmers
Give your switches and dimmers a quick test regularly. Do they click firmly? Do they operate smoothly? Does the dimmer provide consistent brightness control across its range? Any signs of stickiness, looseness, or inconsistent operation might indicate a switch that’s beginning to fail and could warrant preemptive replacement.
Bulb Compatibility and Usage
Using the right bulb is crucial for performance and safety.
Using Correct Bulb Types and Wattage
Always use bulbs that match the lamp’s specifications for type and maximum wattage. Exceeding the maximum wattage can overheat the lamp’s components, leading to damage, electrical fires, or premature bulb failure. For LED conversions, ensure the LED bulb is “dimmable” if your lamp has a dimmer, and that its light output (lumens) is appropriate for your study needs. Using non-dimmable LEDs with a dimmer can cause flickering, buzzing, or even damage to the bulb or dimmer.
Proper Bulb Installation
When changing a bulb, screw it in firmly but don’t overtighten. Over-tightening can strip the socket threads or crack the bulb base. If the bulb doesn’t light up initially, unscrew it slightly and re-tighten. Ensure it’s straight in the socket, not at an angle. For halogen bulbs, avoid touching the glass directly with bare hands, as oils from your skin can create hot spots and shorten the bulb’s life; use a cloth or glove.
By taking these steps, you can significantly extend the life of your study lamp, ensure it works when you need it most, and keep your study space well-lit and productive. Most desk lamp issues are more annoying than serious, and with a little practical troubleshooting, you can often get your light source back in perfect working order.